
Since last summer, I’ve been working with Presight on a new software tool called OpenRisk. It’s basically a web-based platform for creating bowtie diagrams, and after months of testing and improvements, we have launched. So now is the perfect time to share my thoughts on it.
Quick Bowtie Refresher
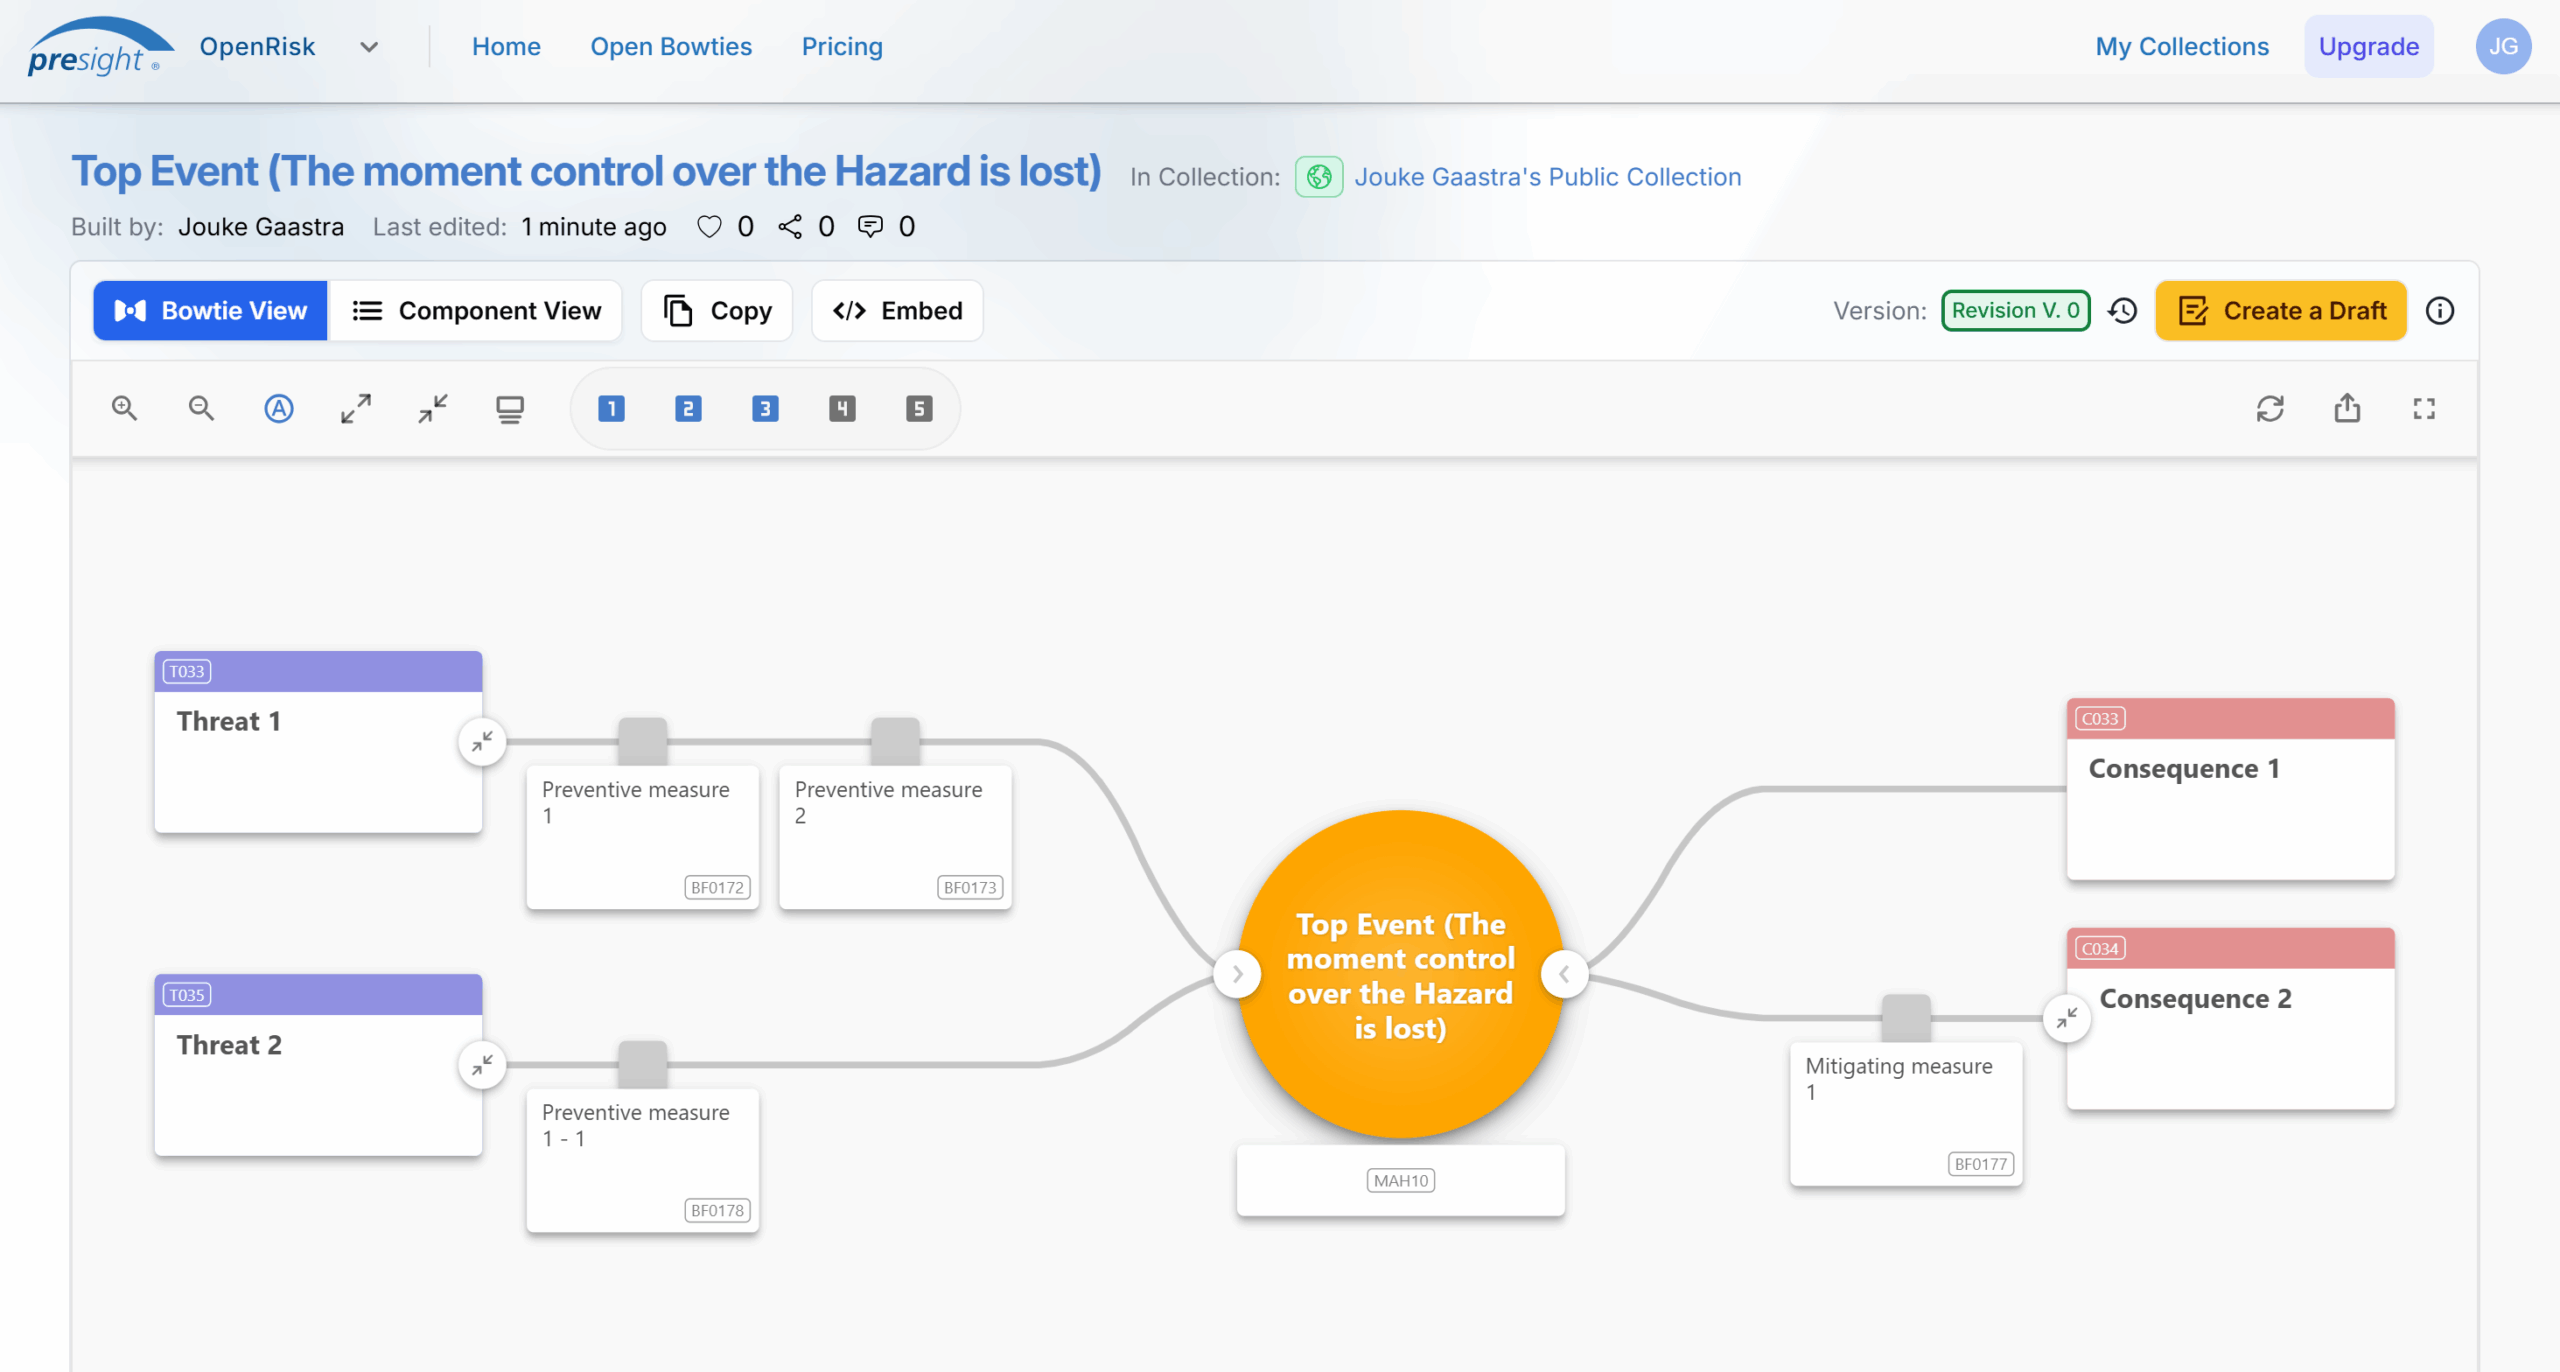
For those who haven’t come across bowtie methodology before, it’s a risk visualisation tool that looks like – you guessed it – a bow tie. You put your main risk event in the centre, then map out what could cause it on the left side and what the consequences might be on the right. The barriers that prevent or mitigate these risks form the “strings” of the bow tie.
It’s actually quite intuitive once you see one. The method comes from the idea that you want to either stop bad things from happening (preventive barriers on the left) or limit the damage if they do happen (mitigating barriers on the right).
Why This Tool Would Have Been Useful For Me
Looking back at my time as an auditor, this would have been very handy. We’d often start our audit planning by looking at past incidents or near-misses. Creating a quick bowtie for each of these events would have given us a solid framework for the audit itself.
Each barrier element becomes a focus point, allowing you to systematically check whether the processes and controls are functioning as intended. Instead of just having a checklist, you’d have a visual map of how everything connects.
There is a significant increase in productivity because, instead of creating or downloading a bowtie template, you can input the top event and let the AI handle the rest. Of course, it’s essential always to verify the AI’s output, but it provides a solid starting point.
The AI Actually Works
When I first heard about the AI integration, I was a bit sceptical. But having used it from the early versions to what’s available now, it’s genuinely helpful. The AI suggests relevant barrier elements that I often had not even thought of myself.
It does tend to be a bit wordy; sometimes, I just want bullet points rather than full explanations. But that’s easily fixed by editing things down. And actually, having more context initially isn’t necessarily bad. You can always trim it later.
Free to Use
OpenRisk is free if you’re creating public bowties. The reasoning is straightforward: At Presight, we aim to build an extensive database of bowties to enhance the AI, and we want people to become familiar with other enterprise tools, such as barrier management, which is a logical next step after establishing a set of bowties.
Testing the WordPress Embed
Writing this post gave me a chance to test out the embed function in WordPress, and I’ve got to say it works well! This opens up numerous possibilities for risk communication.
Imagine national parks embedding a bowtie to show visitors what measures prevent forest fires – you could map out things like campfire regulations, dry season restrictions, and emergency response procedures all in one visual. Or for bear encounters: food storage requirements, hiking precautions, and what to do if you actually see one.
Instead of just posting static PDFs of safety guidelines, organisations could create interactive, visual explanations of risks and the measures in place to manage them, which could all be updated from a single place.
Update March 2026
The development of OpenRisk has been ongoing since its launch. So it’s about time I give an update to this blog post.
The biggest addition is collaboration. You can now share collections with other users and give them either Read or Write access. This means teams can actually work on bowties together, rather than passing screenshots or PDFs back and forth.
Info Labels have also expanded significantly. You can now attach them to any element in a bowtie, not just the top event, and they’re displayed by default. This makes bowties far more informative at a glance. Most importantly, when adding a label to the MAH, the AI will take this into account as context. This significantly improves the quality of the AI-generated bow ties. They’re also searchable in the Open Bowties library, which is useful when you’re browsing for relevant examples.
A few other things worth mentioning: there’s now an Element Details pane that slides in when you click on any element, you can favourite bowties for quick access later, and the overall UX has been polished, better display on small screens, smoother AI generation, and improved screen centring.
Everything else from the original post still stands. It’s still free for public bowties, the WordPress embed still works well, and the AI is, if anything, even more useful than it was at launch.
My Honest Take
After months of using OpenRisk, here’s what I think: it’s a solid tool that makes creating bowties much more accessible. The AI assistance genuinely helps, especially if you’re new to the methodology.
The free tier works well for educational use and getting familiar with bowtie thinking. If you’re doing this professionally and need private bowties or more advanced features, the paid tiers are there to help.
Worth a Try?
If you work with risk management or safety, I recommend experimenting with it. It’s at openrisk.presight.com, and you can start creating bowties right away. The only thing that is needed is to create an account.
Full disclosure: I’ve been working with Presight on this tool, so I’m not exactly an impartial reviewer. But I wouldn’t write about it if I didn’t think it was genuinely useful!
Leave a Reply